How to Paint a Wall with Paint Rollers or Paint Brushes
So, you are tired of boring walls and are keen on a colour makeover? Trust, a fresh layer of paint can switch up your room’s appeal from “basic” to “WOW” in no time.
This guide lays out how to paint a wall with a roller and brush in detail with six easy steps. We discuss everything from choosing the best paint and preparing the wall, to a feature comparison (table and benefits) of paint rollers vs paint brushes.
Step 1: Choosing the best paint
Are you ready to revamp your room’s entire mood? Picking the right paint is key, so here we discuss how to make the right decision.
Why the type of paint matters (glossy vs. matte)
The choice between glossy and matte is not just about looks, it changes how your walls interact with light and deal with scuffs. Glossy paints are a breeze to wipe down, but they bounce light around. Matte finishes are perfect for covering up little wall sins but can be annoying to clean. So, pick based on what your room needs and how you live your life.
How to pick the best colour
When choosing a colour, do not opt purely for a colour that appeals. Consider the room’s dimensions. Lighter tones can make a place feel open and airy, while darker shades give it that cosy feel. Do not forget to consider the room’s lighting, both natural and artificial. You can always test some paint samples to test out before making the big decision. You do not want to regret your choice right from the first brush stroke.
Environmentally friendly options
If you are keen on keeping your paintwork eco-friendly, there are some great options out there. Water-based paints are your go-to for lower volatile organic compounds (VOCs). Brands are also releasing recycled paint, which is both cool and better for the planet. By choosing green-friendly paint, you are not just decorating your room; you are also doing your bit for Mother Earth.

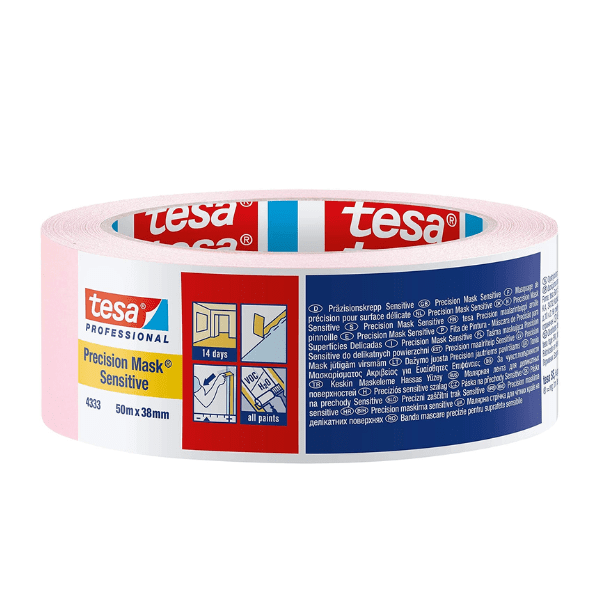
Painter’s tape is one of the equipment items we recommend
Step 2: Paint equipment you will need
Alright, before we get to the painting, we need to talk about paint equipment. You cannot just show up with a paint can and brushes and rollers for painting, and expect magic to happen; you need the right tools and ancillaries:
- Can opener – yes, you guessed it for opening the paint can!
- Cleaning rags – for cleaning any accidental spills or drips
- Drop cloths – these protect your floors and furniture from splatters
- Extension pole – save your back and reach those high spots easily
- Paint brushes – especially for tight corners and tiny details, maybe even buy paint brush sets
- Paint rollers – with a quality roller cover – for covering large areas fast
- Paint tray – your roller’s accompaniment; the paint tray holds the paint
- Painter’s tape – keeps your lines crisp; no one wants messy edges
- Painting gloves – keep the paint off your hands; clean-up is much easier
- Primer – the preparation step you do not want to skip for better adhesion
- Safety goggles – getting paint in your eyes is essential to avoid
- Sandpaper – for smoothing out wall imperfections, or maybe paint stripper
- Screwdriver – to remove outlet covers and any wall fixtures
- Step ladder – or extension pole – for those out-of-reach spots; the extension pole provides an additional option to the ladder, offering safety and convenience
- Stir stick – to mix the paint properly; do not cut corners
Step 3: Preparing the wall
Before you begin applying paint with a paint roller, let us pause and talk about preparation work. Trust me, preparing your wall is crucial if you want that result to be all you desire.
Plan for success
Seriously, do not just dive into painting; that is a potentially disastrous error. If you skip the preparation, you may end up with uneven paint, visible wall flaws, and maybe even some peeling later. Ensure you paint evenly to avoid any inconsistencies in the final look.
Steps for wall preparation
Follow these steps to prepare your wall for painting:
- Cleaning – wipe down the walls to remove any dust or grime; clean walls mean better paint adhesion. You may even need to use a heat gun to remove obstinate previous paint layers
- Sanding – smooth out any imperfections or texture on the walls; this helps your paint adhere like a dream
- Primer – apply a coat of primer to ensure the paint sticks well and the colours pop
If you spend a little time on preparation your walls will thank you.
Step 4: Choosing brushes and rollers for painting
So you will have now picked your paint and your wall is prepared. What is next is choosing between a paint roller or brush, or in our opinion – use both? Each has its pros and cons, which we analyse below:

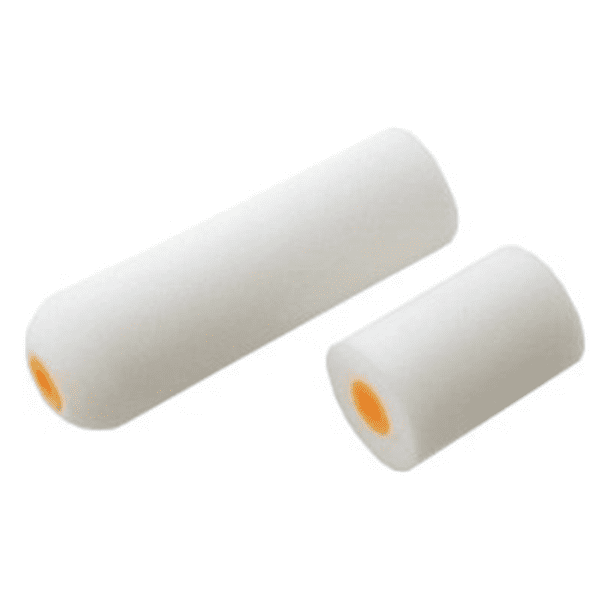
A paint roller is handy for many paint jobs
Paint rollers vs paint brushes feature comparison table
Are you wondering how to paint a wall with a roller, or perhaps even using a paint brush and roller? Our feature comparison table below of paint rollers vs paint brushes will be a great help:
| # | Feature | Paint Rollers | Paint Brushing |
| 1 | Speed | Quick coverage | Takes longer |
| 2 | Precision | Less detailed | High precision |
| 3 | Texture | Smooth finish | Brush strokes visible |
| 4 | Ease of use | Beginner-friendly | Needs skill |
| 5 | Clean-up | More components to clean | Easier clean-up |
| 6 | Paint use | Uses more paint | Uses less paint |
| 7 | Cost | Generally cheaper | More expensive |
| 8 | Corners & edges | Hard to reach | Easier access |
| 9 | Versatility | Limited | More versatile |
| 10 | Required items | Roller, paint tray, etc. | Just the brush |
| 11 | Finish quality | Even | Can be streaky |
| 12 | Ideal surfaces | Large, flat areas | Detailed, small areas |
So, whether you are opting for a smooth finish or demanding the finer details, this table should help you make the right calls.

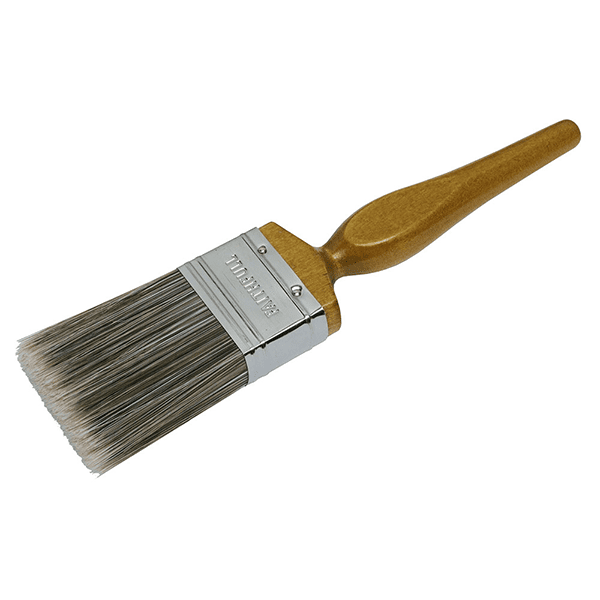
Choose a decent paint brush for your painting work
Paint roller and brush benefits comparison
Listed below are a range of benefits can you expect from rollers and brushes.
Paint roller benefits
Benefits of paint rollers include:
- Beginner-friendly – you do not have to be a talented artist to be a great roller
- Fast – you can paint a whole room rapidly
- Improved finish – with the right roller cover, you can achieve a more even and professional finish on your walls
- Less arm fatigue – after a painting session, I guarantee your arm will not be crying for mercy
- Less expensive – in general, it is less expensive than using brushes
- Simple to clean – simply throw away the roller sleeve and you are finished
- Smooth finish – the final look is super sleek
- Versatility – this device excels at dealing with a wide range of wall textures
Paint brush benefits
Benefits of paint brushes include:
- Detail experts – they are ideal for tasks that rollers cannot achieve
- Fine-tuned precision – expertly reaches those hard-to-reach spots
- Green-friendly – clean and repurpose them for repeated use
- Ideal for tight spaces – do you need to touch up or repair a small area? Your paint brush is your best friend!
- Easy to clean – all you need is some soap and water to bring everything back to normal
- Outstanding finish – whether your brushwork is textured or smooth, technique is key
- Paint saver – Less is more; you will not be splashing paint around like there is no tomorrow
Our conclusion
Why choose one or the other? You learn below how to paint a wall with a roller, but in our opinion using a paint roller and brush for painting is better. This is why we merge both in the painting process below.
So, opt for both use of a paint roller and brush and study carefully the paint rollers vs paint brushes comparison above (both the benefits and features table).
Step 5: The painting process
OK, we have spent plenty of time preparing, but now it is time to get your paint roller and brush and start painting.
A step-by-step breakdown of how to paint a wall with a roller and brush:
Here are the steps we would recommend with brushes and rollers for painting:
- Gather your equipment – ensure all your equipment is ready and in one place
- Mix the paint – give the paint a good stir to make sure it is even, and lumps are broken down
- Apply painter’s tape – put this around the edges to keep things neat
- Load the roller – with a suitable roller cover, if you are using a roller, load the roller with paint and then on the grid to remove excess. Avoid roller marks
- First coat – use W or N shapes for the first go-around. Make sure to spread the paint evenly to ensure a consistent finish
- Second coat – wait for the first to dry and then reapply
- Brush for details – use your paintbrush for corners and small spots
- Peel off the tape – make sure the paint is dry, then slowly remove the tape
Tips for avoiding streaks and blobs
Nobody wants a messy wall, so here are some tips to avoid streaks and blobs:
- Check as you go – take a step back and see if you have missed a spot
- Feather out – use the roller’s edge to feather out any thick lines
- Less is more – do not overload or add too much pressure to your brush or roller
- Paint evenly – apply the paint evenly across the surface to prevent streaks and ensure a smooth finish
- Smooth transitions – blend your brush strokes into each other
- Use the right roller cover – different surfaces require different roller covers; ensure you are using the appropriate one
How to handle corners and edges
Corners and edges can be especially challenging, but here are some tips:
- Cut in first – Use a brush to paint a border around corners and edges
- Detail brush – use a smaller brush for ultra-tight spots
- Distribute paint evenly – remember to distribute the paint evenly to avoid build-up in these tricky areas. Do not reload the roller, whilst handling corners
- Keep a wet edge – this is important to create straight lines
- Patience – wait for corners to dry before applying a second coat
- Roll close – using an extension pole, ensure your roller reaches as close to the corner as possible for a seamless finish
- Use a high-quality roller cover – a good roller cover can make painting corners and edges smoother and easier

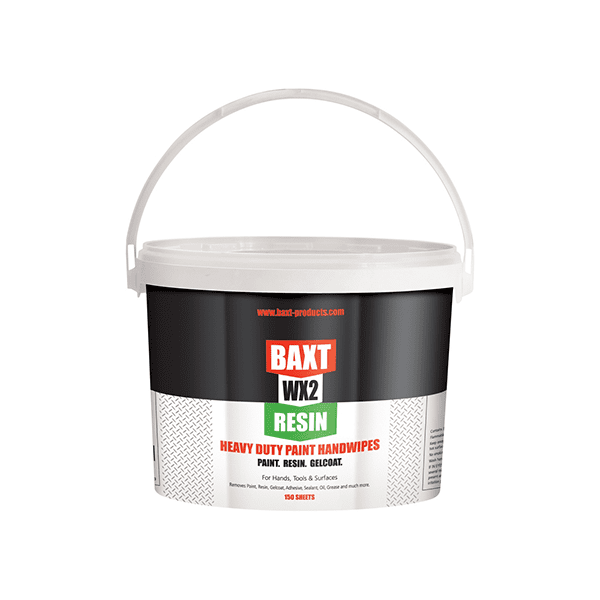
Heavy-duty hand wipes are useful in the cleanup and care step
Step 6: Cleanup and care
Hopefully, by now you have mastered the painting; but now let us talk about the less glamorous part, the cleanup! Heavy-duty hand wipes come in super handy here. They are perfect for cleaning up any paint that might have stuck to your hands or even the surrounding areas.
Do not let your tools turn into a crusty mess. Clean brushes and roller covers in soapy water immediately after use. Dry them properly before storing them away to ensure they are good for next time.
Your masterpiece needs time to dry. If you have managed to paint evenly throughout the process, the drying time should also be consistent across different areas of the wall. Depending on the type of paint, you are looking at a few hours to a full day for it to be completely dry. Use this time to relax, or brag about your DIY skills on Instagram!
Conclusion
So, painting walls is much more than just slapping some paint and colour on. This guide is a must-read, breaking down painting walls into six important step tasks. From choosing paint, and preparing your wall, to deciding if you are using a roller or paint brush, it has you covered.
First off, it is all about picking the right paint. Glossy or matte? What decor are you looking for? Do not just pick any colour, think about the room size and lighting. There are even eco-friendly options, which is great to choose too. The guide also lists all the equipment you need, this is more extensive than you might think. Use paint brushes for details, rollers for larger areas, and a range of other tools. Also, do not forget about choosing the right roller cover; it makes a significant difference in the quality of your paint job.
Preparing the wall is key, do not skip this part of the process! It will make or break your paint job. When it comes to paint rollers vs paint brushes, there are many factors to consider. Rollers are quick and give a smooth finish, but brushes are for detailed work. Finally, when it is painting time, there is a step-by-step guide, and some solid tips to avoid any mess-ups. Oh, and do not forget the clean-up, it is a pain, especially when you are tired, but it must be done. Keep those tools clean for the next time you need them!
The best products at DTC
At DTC, we provide a wide range of paintshop supplies including brushes and rollers for painting. Choose from various paint roller and brush options when you buy online from us.
We hope you have enjoyed reading this guide about how to paint a wall with a roller and brush and our features comparison of paint rollers vs paint brushes. Please contact us using the methods below:
- Contact page – at this link
- Phone – 023 8025 1100, or by
- Email – sales@dtc-uk.com

